The Upper Levels of Vah Naboris
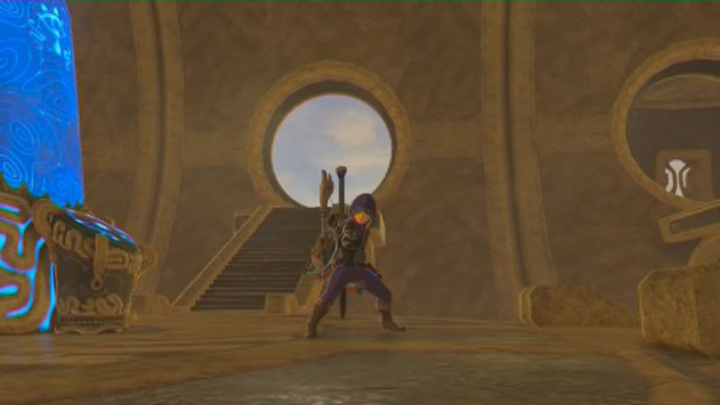
You’ll need to use Naboris’ tail to get to the upper level. At the top of the rear wall in the main chamber, you’ll find a passage with moveable magnetic blocks. With the upper circuit activated, move those blocks to send the charge to a node that will raise Naboris’ tail. Here’s the thing — you’ll need to rotate a section to kill the circuit so you can run over and stand by the node. (If you drop down to a platform below, you can also grab a chest, then warp out and back in.) Once you’re standing by the node, rotate the section you moved to break the upper circuit and ride your way upstairs.
Head up the ramp and shoot another eye to make your way back inside. This first room has an elevator that goes down a level. There’s also some corruption with an eye — if you shoot it, you’ll open a shortcut down. Now, take a ride on the elevator. On your way down, use Magnesis to grab both the chest and the green electric orb. Ride back up to the unactivated node, and use Magnesis to put the electric orb by the node. It’ll power a moving platform that you can take into a room with another elevator that goes both up and down.
You’re on what we’ll call the middle level of this section. First, shoot the corruption’s eye that you can see when the elevator’s going either up or down. It will clear out the corruption to your fourth terminal. Now it’s time to ride some elevators.
Going up first will lead you to another moving platform to a chest as well as a green electric orb in the room with the elevator. Take the orb with you via Magnesis, and ride the elevator all the way down. You can spot the door with a crystal above it. Use Magnesis to move the orb up to touch it and unlock the gate. On the other side of the room, you can shoot another eye to open up another shortcut.
Now, proceed into the room you just opened. There will be a couple mini Guardians waiting for you, but they go down easily. This room has two places to put electric orbs. First, take the one you used to open this room and move it into one of the places. Then, head back to the other elevator room that has the node powering your moving platforms. Now that you can pass freely between the two sections, you don’t need those platforms anymore. Using Magnesis, take it down and place it on the other little dais. This will open the way to your fifth and final terminal.
After activating it, you’ll return to the main controls of Naboris, which are in the main room of the Divine Beast. When you try and put your Sheikah Slate on it, you’ll trigger a boss battle.
Thunderblight Ganon
The spirit of the Champion, Urbosa, will warn you that Thunderblight Ganon is fast. She’s not kidding. Keep your shield up. When Thunderblight tries to hit you with its sword, you’ll block the attack and have an opening. Hit its shield to break it and start stabbing. Thunderblight also has a lightning ball attack for you to dodge.
Once you knock off some of its HP, you’ll reach the second round. Thunderblight will fly around the room and drop pillars that will then draw lightning. Here’s the thing: they’re magnetic. With Magnesis, pick one up and hold it close to the beast for a ridiculous amount of damage and a chance to strike with your melee weapons. I only had to do this once before advancing to the third part.
The third round is similar to the first, but Thunderblight will also temporarily electrify itself. When that’s the case, you’ll want to dodge even the sword attacks if your weapons are metal like mine were. Thunderblight also gains a laser attack that you can dodge by hiding behind platforms as well as using its lightning orbs. When it isn’t electrified and does its sword attack, do as you did before: block with your shield, hit and break its shield, and then hit it.
Next: Breath of the Wild: Vah Ruta guide
After the boss goes down, take your Heart Container. By activating the terminal, you won’t be able to return, so be sure you’re done with everything here. Urbosa will give you the skill Urbosa’s Fury, which lets you do a lightning strike with a charged attack.
Watch some cutscenes, then head back to Gerudo Town (remember to change your clothes). Talk to Riju in the palace, and then you’ll get the Scimitar of the Seven and the Daybreaker Shield. If you want the Thunder Helm, you’ll need to do some side questing.
That wraps up the main dungeon in the desert for Breath of the Wild.
